Mumble/iCW on Linux

Just a quick post so I don’t lose this command… (!)

$ parec --latency-msec=10 -d alsa_input.pci-0000_00_1b.0.analog-stereo --stream-name=Sidetone-source | pacat --latency-msec=10 -d alsa_output.pci-0000_00_1b.0.analog-stereo --stream-name=Headset-sidetone &

I’m setting up for iCW (Internet CW) on Linux and this is the pulseaudio pipe command to get a low latency monitor of my laptop’s line in (FT-817 audio is plugged in as a keyer) to my headphones.  By default, if I load the pulseaudio loopback module, the latency is far too high to work the keyer… but all those months trying to get pulse working for the network radio setup have paid off!  Instead of using pulse’s loopback module, the command above pipes the specified input source to the specified output sink and allows me to specify a target latency.  10ms is just a first guess here but it seems to be OK.

More to follow, probably a new page when I’ve got it all working…

First play with Red Pitaya

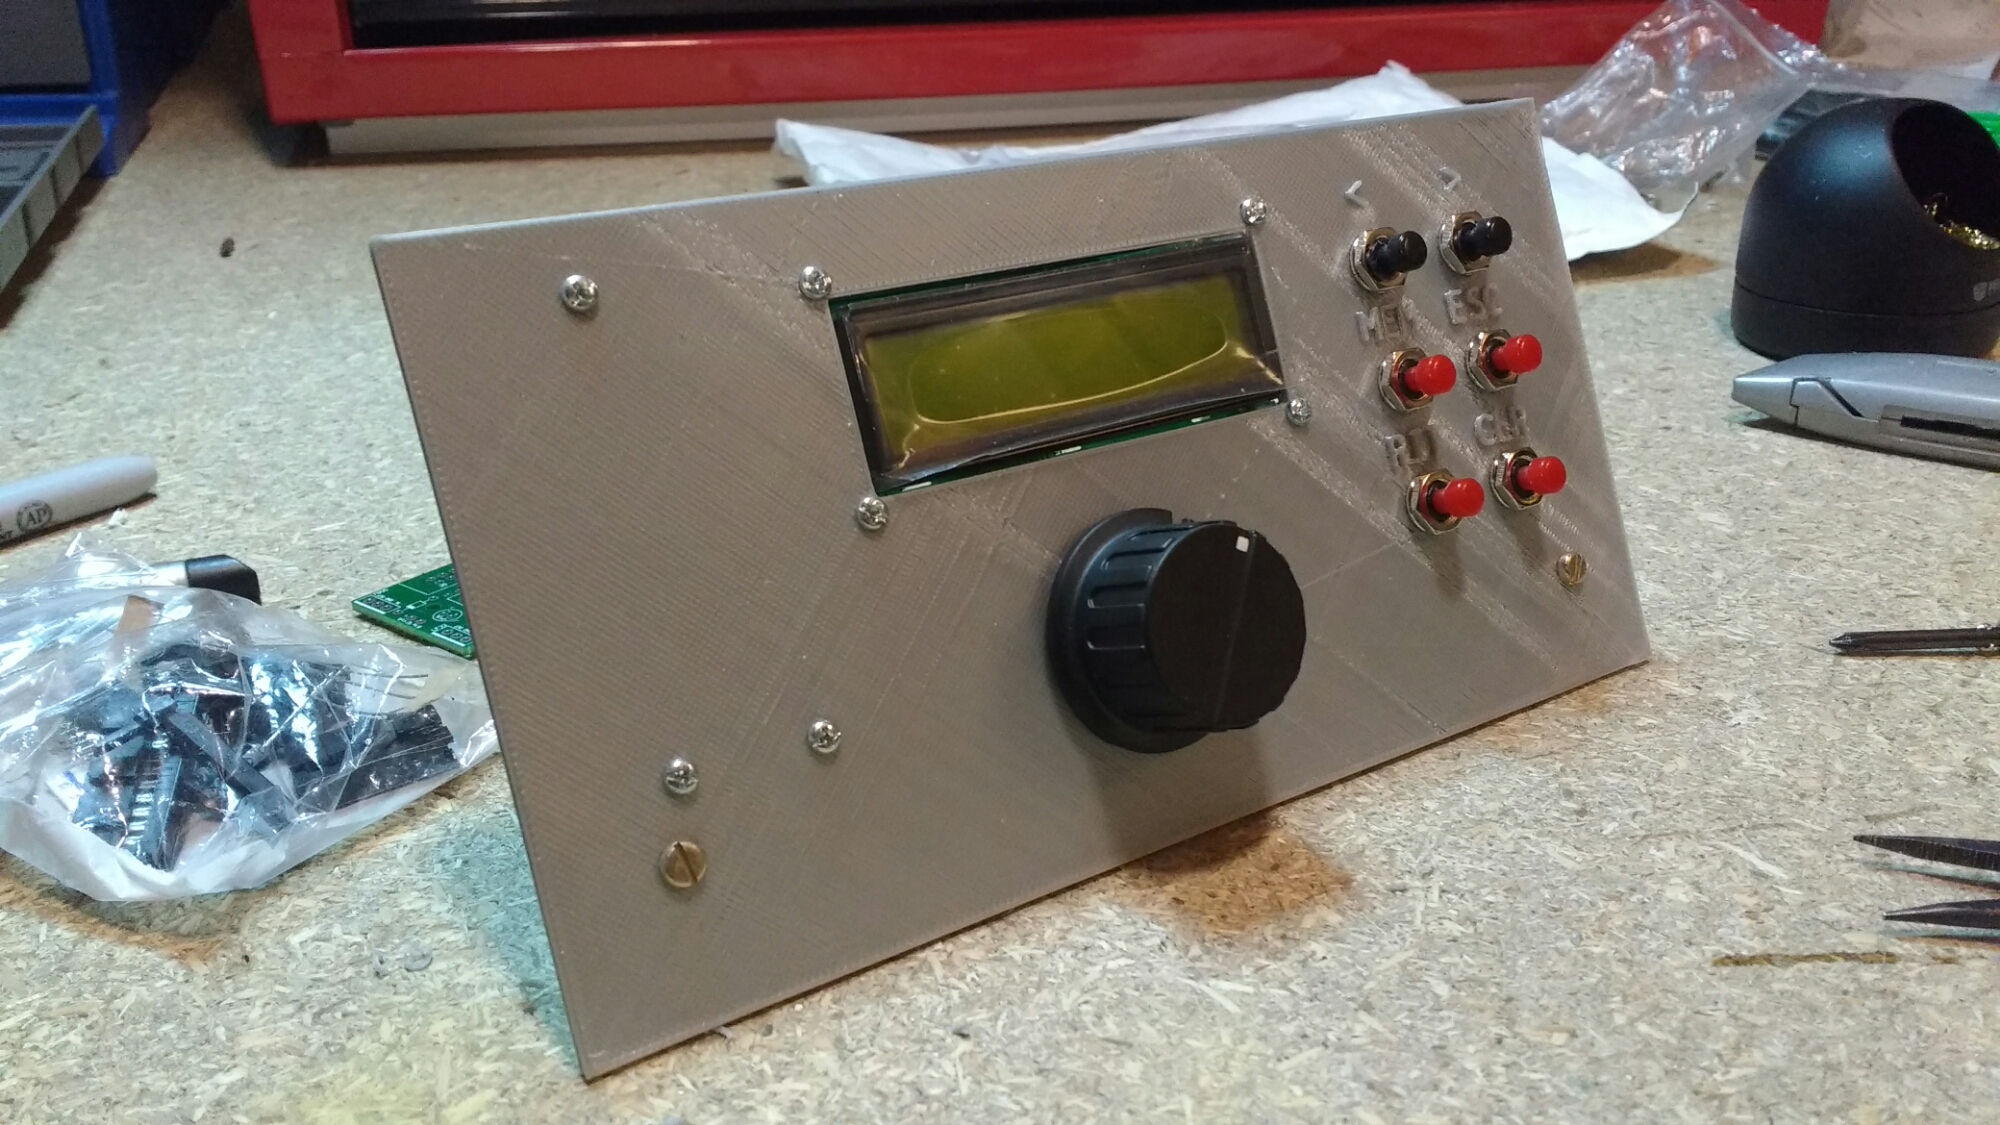
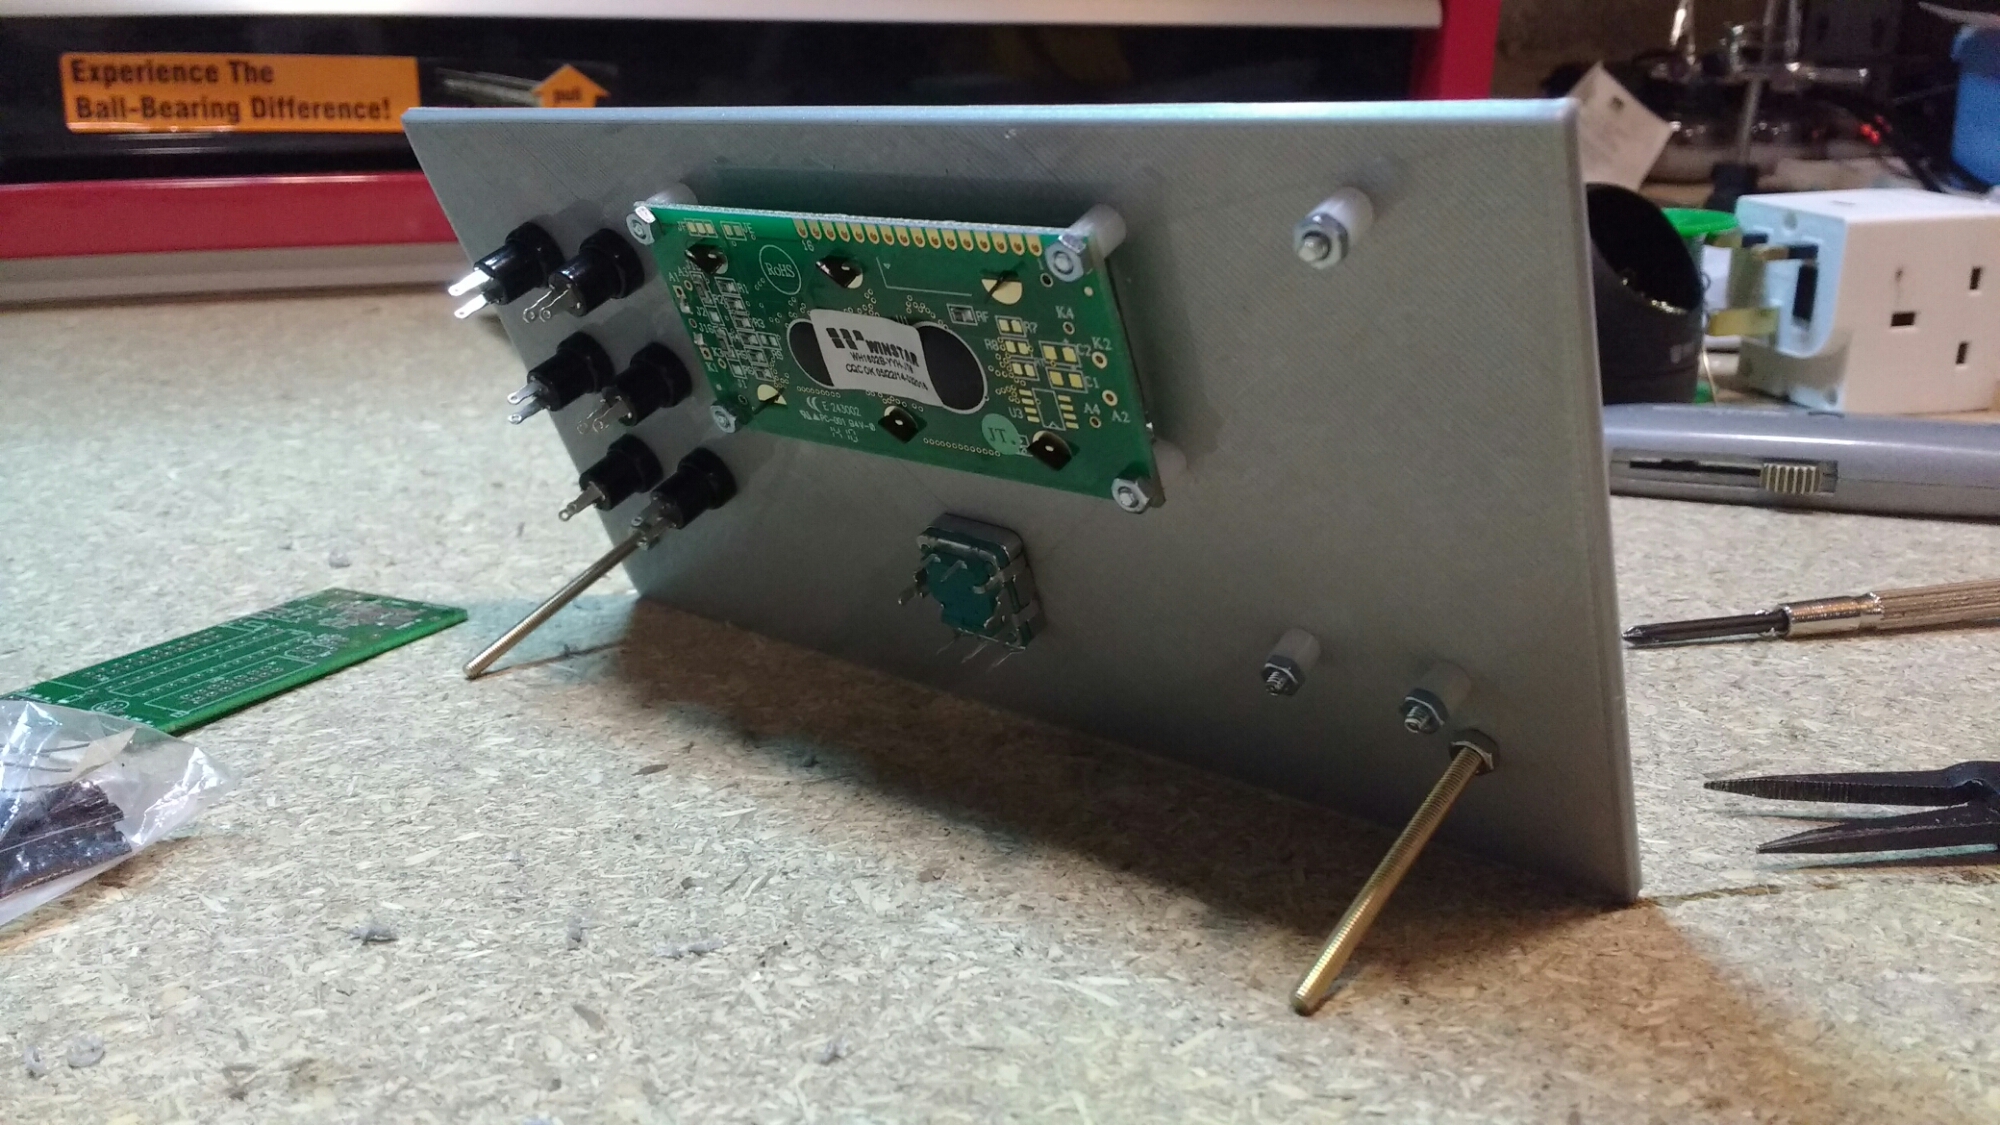
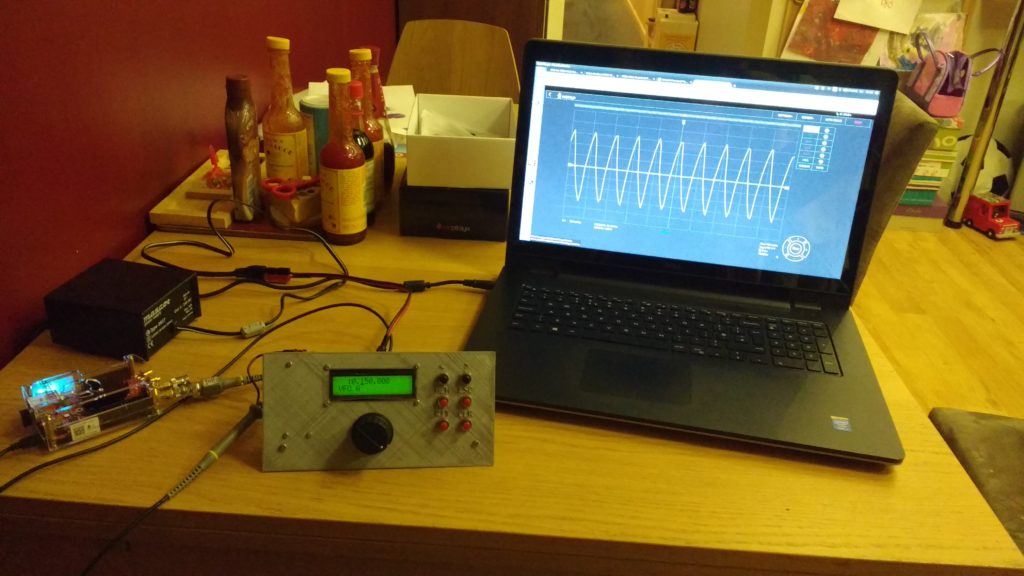
Finally got around to hooking my new Red Pitaya up to the PA0KLT VFO and having a play around with the oscilloscope and spectrum analyser applications.  Very easy to hook up on the dining table, connected to the laptop via WiFi and seems fairly responsive given that it’s driven through a web browser so a minimum of cables out on the table:

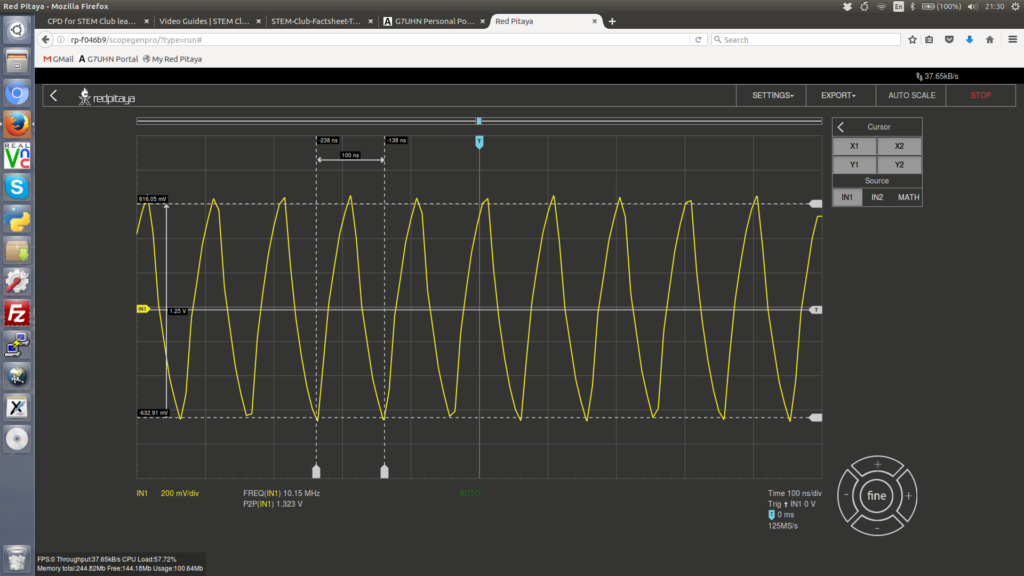
Basic operations on the scope seem easy enough:

The frequency measurement on the scope appears fairly accurate (the VFO isn’t calibrated yet) but the precision seems limited to 4 significant figures, not so useful when you move above 10 MHz:

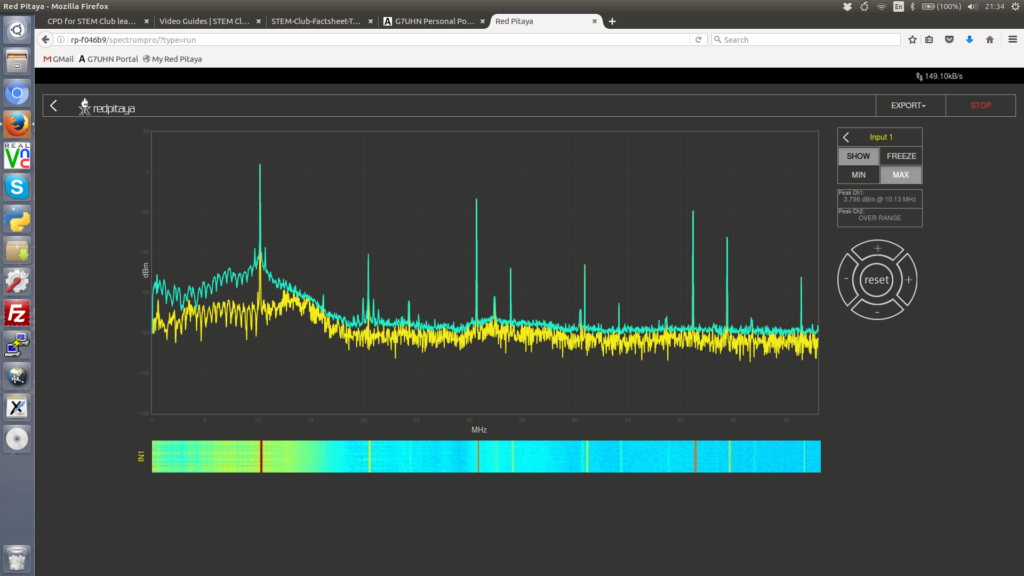
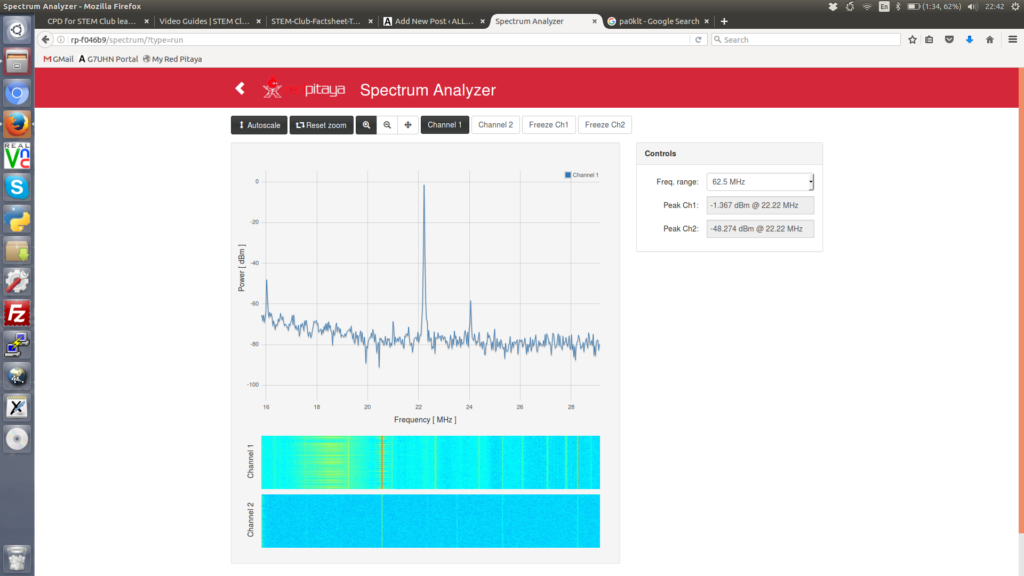
The “Spectrum Analyzer Pro” application seems pretty basic and I couldn’t figure out how to set the span to a smaller range, need to do some reading I think.  The trace shows a lot of noise in the lower part of the spectrum, could be local interference (I’m staring at the Red Pitaya’s own tiny switch-mode power supply…):

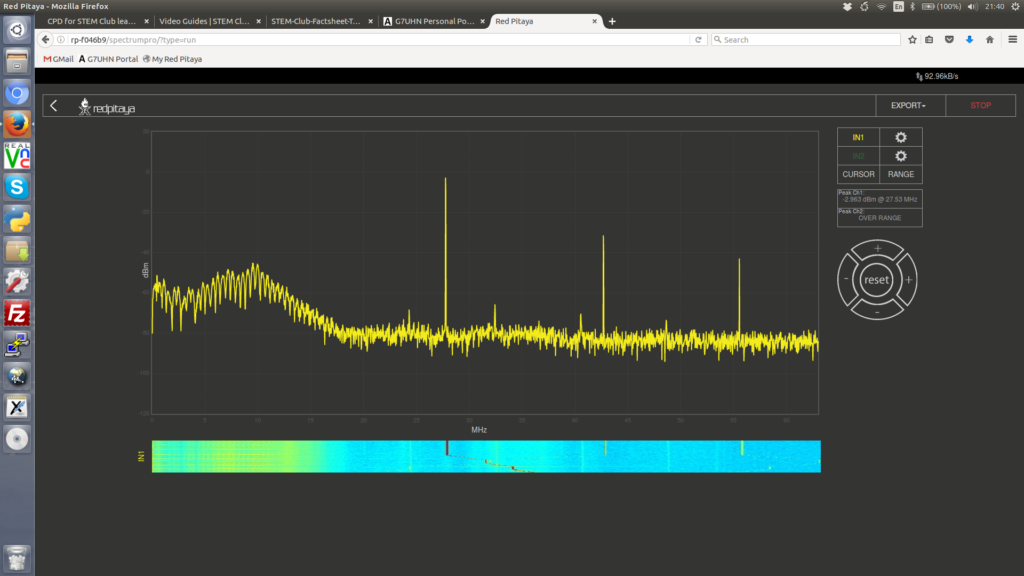
Winding the VFO up in frequency moves it out of the noise:

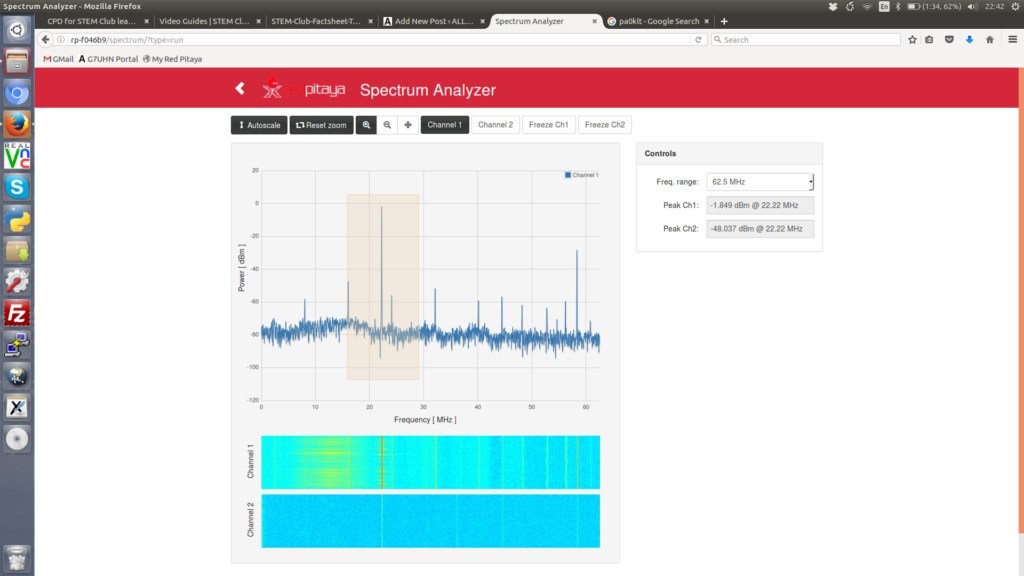
The previous version of the spectrum analyser is still available in the Application Marketplace and that seems to be more usable despite the smaller display area.  It seemed quite obvious that you could zoom in by selecting the zoom control and drawing a box around the area of interest:

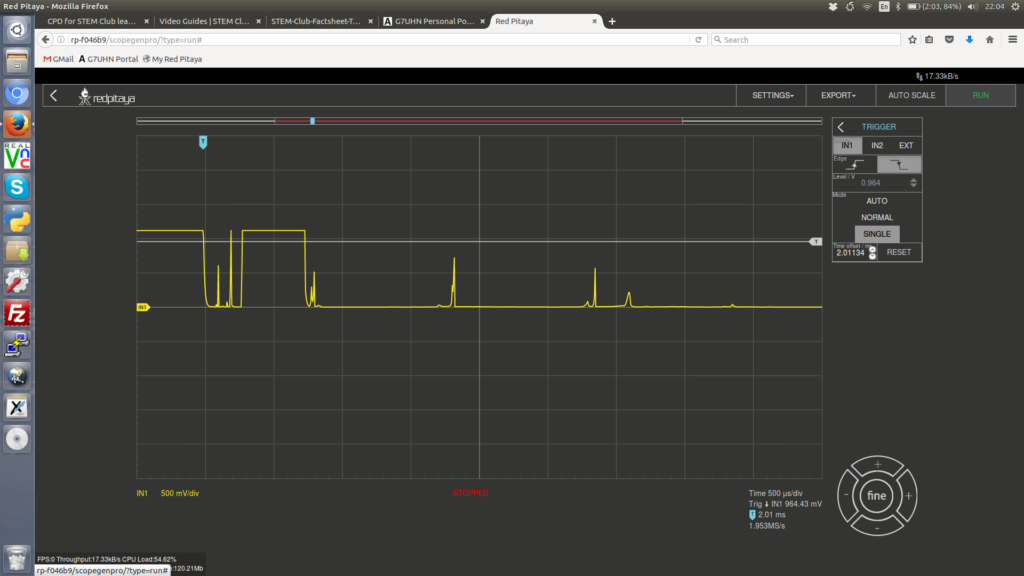
To finish off I’ve had a little look at the digital capture of the oscilloscope to visualise the switch bounce problem I have on the PA0KLT VFO (100nF capacitors across each switch are listed as “optional” and not included in the kit but I’m thinking they’re probably “essential” and will be fitting some this week!):

Panning left and right on a scope capture seems a little clunky (you can drag the bar/trigger point at the top of the display but the trace only updates when you release the drag), hopefully someone will improve this.

Antarctica calling…

2200 UTC Friday night and I’m parked right beside the sea wall at the bottom of Southampton Water.  This is the scene for my biggest ‘DX’ contact yet and a very special one: 9000 miles to the south my friends and former colleagues at Rothera Research Station, Antarctica are about to give me a call on the radio.

image

image

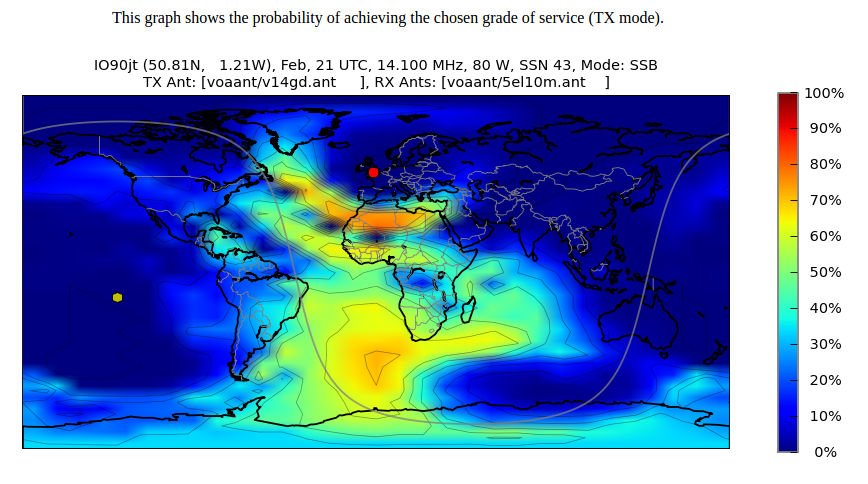
My location is chosen for its close proximity to the sea water which enhances the performance of my very basic helical antenna.  Using the VOACAP online propagation prediction tool shows that at this time of night (and after our signals bounce off the Atlantic ocean twice) the 20m band should have some chance of working between our locations:

VOACAP Southampton Prediction

… and sure enough it was!  VP8ROT came through loud and clear, almost as if they were on the other side of the hill, and after a very happy 20 minutes chatting to the other side of the planet I have a new and very special pin in the map below (the yellow one at the bottom!):

image
Amateur radio contacts to date.

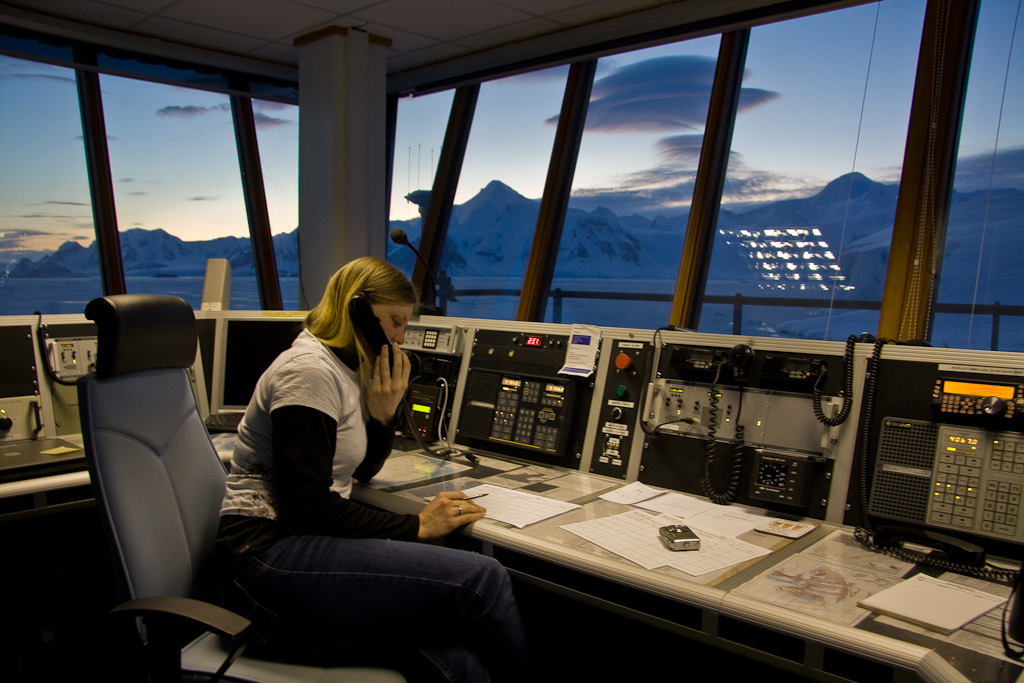
And just for good measure, a couple of pictures of the scene at the other end of the contact which I think we can all agree is a lot more interesting than a Ford Mondeo parked by the sea:

image
Terri talking to field parties over the radio on a winter evening, 2009.
Antennas at Rothera late on a summer's evening, 2009
Antennas at Rothera late on a summer’s evening, 2010

Waiting to go Portable

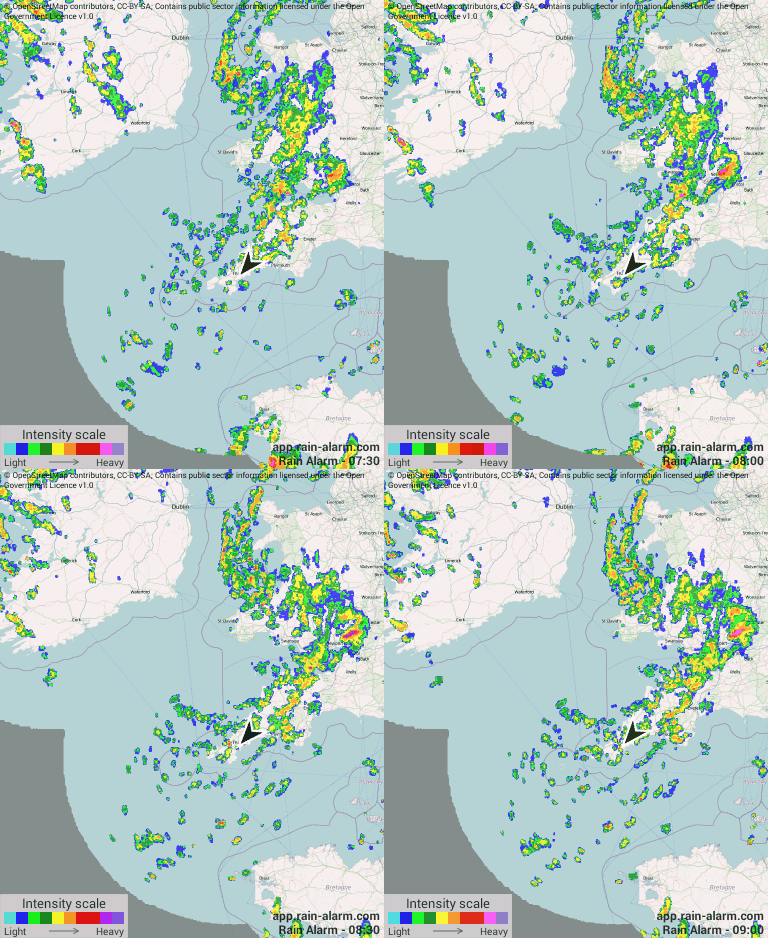
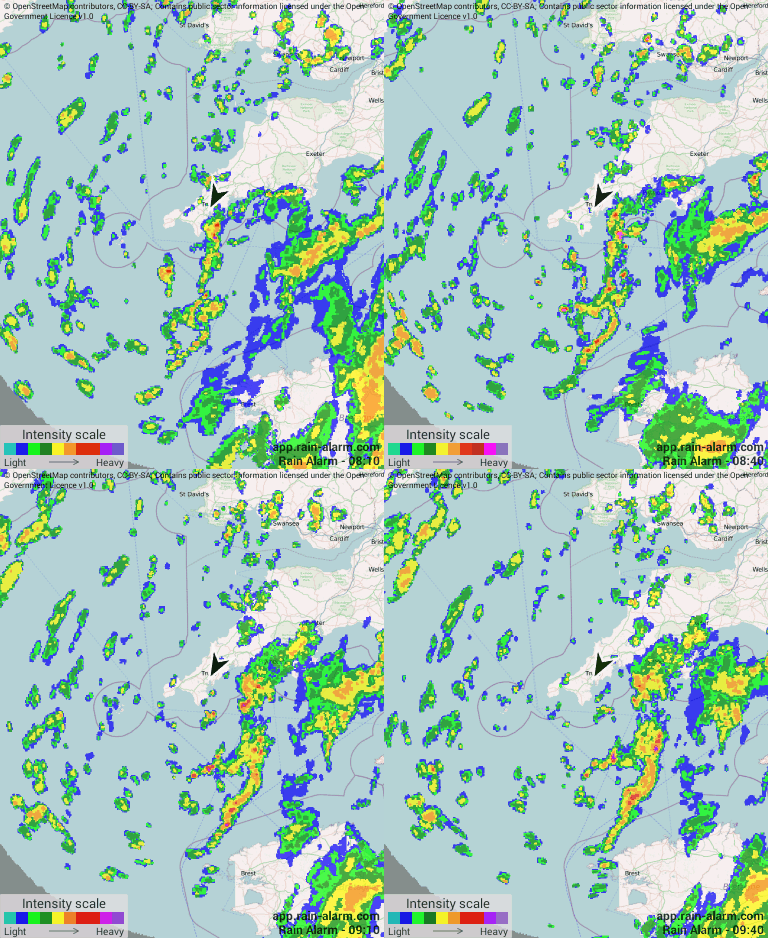
Currently on a short break down in Cornwall and I’m keenly watching weather data to see if there’s a chance of going out for some portable radio.  I have it in mind to fly a kite antenna from Lizard Point or nearby but obviously weather is a deciding factor.  A great tool to enhance the usual weather forecasts is the free Rain Alarm app which shows the most recent data from weather radar, very good for watching the trend and getting an idea if you’re going to get wet:

image

Rain Alarm – 09:40
http://app.rain-alarm.com

Although it’s quite fine outside right now you can see a lot of showers around the area. The forecast shows better chances tomorrow so today will probably be an indoors day!

SDR receiver back on line and contesting…

Thanks to some inspiration from 2E0DFU I have repaired my network connection to the attic (it had been cut to use as a pull-through when I installed new feeders to the loft!) and have my SoftRock Ensemble II SDR receiver back online.

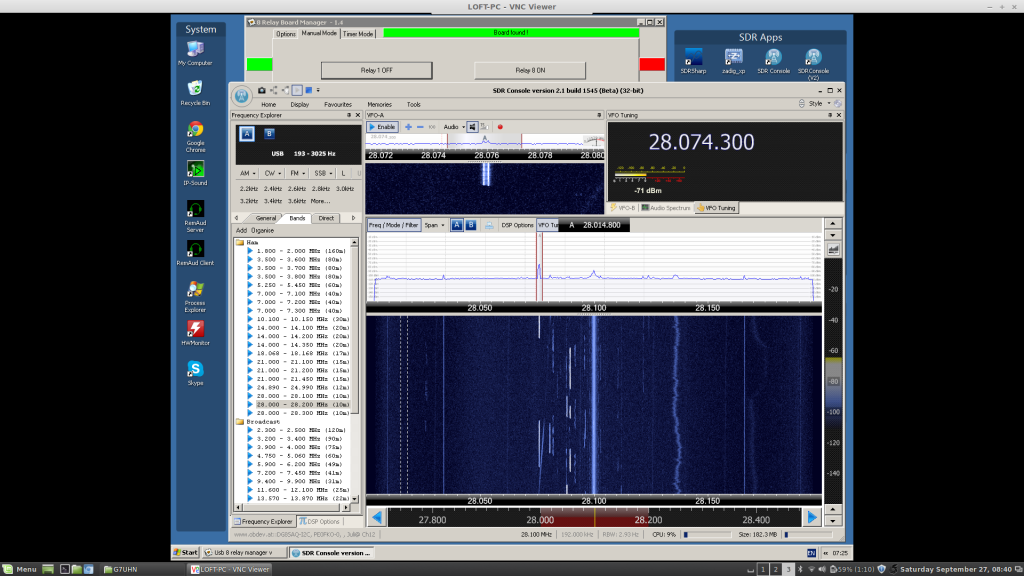
I’d forgotten just what a great bit of kit the SoftRock is and I’ve now taken the trouble to install an RF changeover relay in front of it to cut off the RF input and protect it from transmissions from my Elecraft K2.  The changeover relay is USB-controlled from the SDR PC and it’s only manual at the moment but is working well.  This means I can now run both my K2 and the SoftRock and I’m currently using the SoftRock as a wideband receiver to monitor band activity in the CQ WW RTTY DX Contest.  I have the remote K2 and the remote SoftRock set up on different Linux workspaces and I can quickly Ctrl-Alt-arrow my way between them as required:

rtty contest main desktop

rtty contest wideband monitoring 10m sparse
Using the SoftRock as a wideband receiver makes it easy to locate activity across the band.

Notes on Linux on a Dell Inspiron 17 5000 (2014, model no. 5748)

Driven by changes in daily use and a need for a bigger screen, I have decided to retire my venerable Toshiba Tecra M9 laptop from active duty and replace with a 17″ laptop.  But 17″ laptops have fallen out of favour with the computer manufacturers over the last few years and the whole laptop market seems to have taken massive steps backwards choosing style over functionality in many important areas.  Well, this is the world we live in and after looking over the main manufacturers models I’ve chosen a Dell Inspiron 17 5000 (model 5748) mainly because it was the cheapest I could find with a full HD (1920 x 1080) 17″ screen and Dell have a good history for Linux compatibility.  The model is new enough that there is little information on its Linux compatibility so I write this post in case it helps others.

Running Linux live from USB:

The laptop arrives with Windows 8.1 installed and so uses the new (well, new to me!) EFI secure boot system.  Ubuntu 14.04 and Fedora 20 live USB sticks were able to boot while this was enabled.  This needs to be disabled in the BIOS to boot Linux Mint 17 (power on, hit F12, switch the BIOS boot option to Legacy – Secure Boot Off, boot from USB…).

Ubuntu 14.04 64-bit boots and almost everything appears to work on the Live version, only the wireless network is missing.

Fedora 20 64-bit boots and most things appear to work but no touchpad and no wireless networking.

Linux Mint 17 64-bit Cinnamon and MATE versions boot and almost everything appears to work on the Live version, only the wireless network is missing.  I have installed Linux Mint 17 64-bit Cinnamon version on a new 128GB Solid State Drive, removing the Dell hard drive with Windows 8.1, this is left on the shelf for a rainy day…

Function keys:

Strangely, in the BIOS the multimedia/function keys are set to be multimedia keys by default and you have to hold the ‘Fn’ key for them to behave in the normal function key way.  Because it’s set in the BIOS this applies to both Windows and Linux.  At first I thought the laptop functions keys (brightness, volume control, etc.) weren’t working in Linux but actually they do once you’ve figured out if you have to press the ‘Fn’ key or not.  Is this normal these days?

Wireless networking:

The standard wireless network card the laptop ships with isn’t supported by the wireless drivers in any of the Linux distros I tried.  No problem, for £17 I simply upgraded the internal wifi card to an Intel 7260 wireless card which is well supported in Linux and adds 5GHz capability.  It is also the same card used in the next model up, the Dell Inspiron 17 7000 so I expected it to be compatible if Dell had done any white-listing in the hardware.  The card takes just a couple of minutes to install and works as soon as you boot into Linux Mint 17…

Touchpad:

So far I’ve been unable to identify the manufacturer of the touchpad used on this laptop.  It works as a basic touchpad but I have no multi-touch functionality in Linux Mint.  Knowing the manufacturer is probably the first step in ensuring the correct driver is running in Linux.  It’s doesn’t seem to be a Synaptics touchpad, xinput list output as follows if it helps anyone…
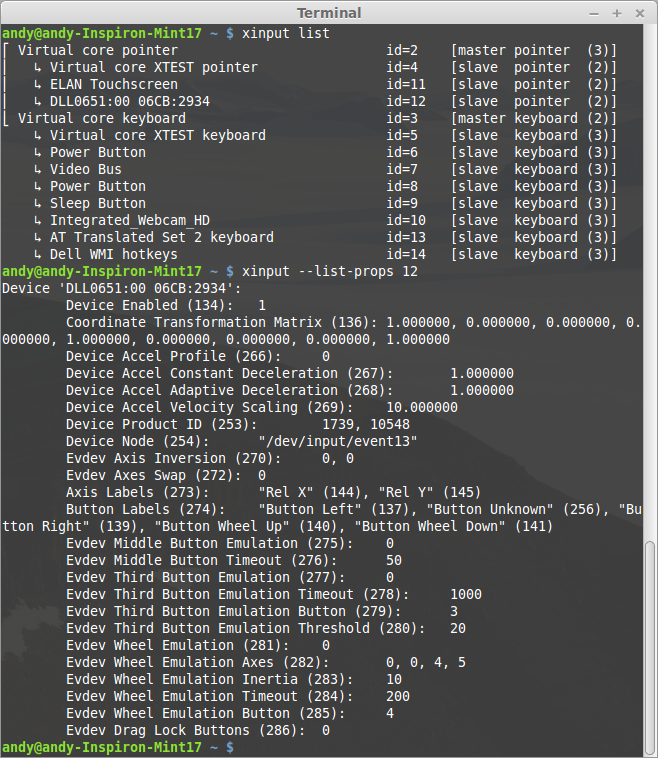
Terminal_004

I could write more on the modern design aspects of this laptop (keyboard, touchpad, glossy touch-screen…) but I think I’ll leave it there as I start to sound like an old man.  Once you sort out wireless networking, this laptop runs Linux very fast, don’t get caught out by the function keys and the secure boot thing.

G7UHN is now invisible!

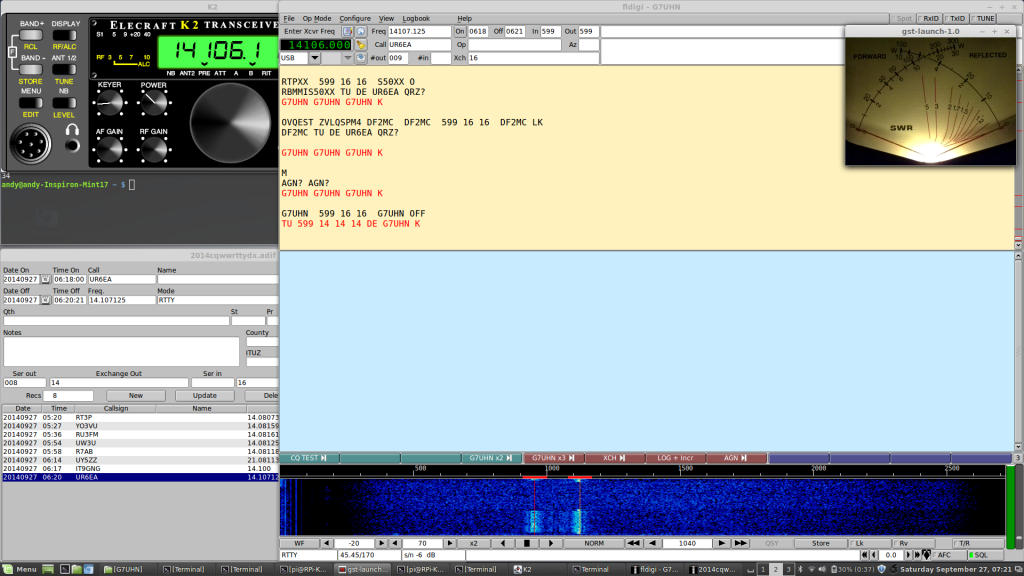
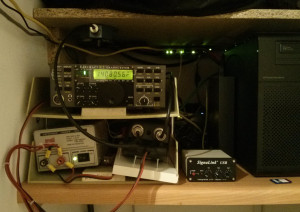
G7UHN has entered a new phase this weekend – the home station equipment has disappeared from sight and is now located on a shelf in a utility cupboard!  Operation of the station is enabled by a pair of Raspberry Pis serving out audio, serial and video feeds to a laptop computer which can be located anywhere in the coverage of the home wireless network.  The arrangement of hardware needs a bit of tidying up but this ‘remote’ configuration is now fully functional and I have been making my first digital contacts this weekend with good reports from around Europe:

G7UHN on a shelf

The setup is described in some detail on this page (I’m just catching up with my notes now).  Here’s a screenshot of my new ‘shack’ in operation:

Operating data modes from the laptop...
Operating data modes from the laptop…

This project has taken some time to get up and running but in doing so I’ve learned a lot and my Linux skills are now probably creeping out of the ‘beginner’ zone!

Note (November 2017): This is a bit of an old post (but it shows how long I’ve been running the radio in a cupboard!).  I presented an updated configuration at the 2017 RSGB Convention, slides and stuff from the “Low Cost Remote Radio” talk are on this page.

Remote audio improved…

A quick post.  I’ve just discovered an improvement to the remote audio software I’ve been using to stream audio from my SDRs in the loft to my laptop over the home network.  Previously I have been using IPSound and, while excellent for connections between Windows PCs, it has some trouble running under Wine in Linux which is my normal mode of operation.  In the past year or so there has been a great deal of material popping up on the Internet about remote operation of amateur radio equipment and I’ve now come across DF3CB’s excellent RemAud which really follows on from the groundwork laid by IPSound.  I’ve just installed it using Wine in Linux Mint 15 and it works a treat!